iPad Air 2 Cracked Screen Repair
About the iPad Air 2
The iPad Air 2 model numbers are A1566 for the WiFi only version and A1567 for the Cellular version.
The iPad Air 2 is the latest model in the iPad series. Released in November 2014 it is "The Best iPad Yet", and one would hope so too. In my opinion it is a really sleek piece of kit to look at. Thin and elegant, with an awesome screen - it is a thing of beauty.
Full specification available on the Apple website
Apple iPad Air 2 From a Repair Centre's Perspective
The iPad Air 2 housing is much thinner than its predecessors and this leaves the unit more vulnerable to damage. It is also the first iPad that has the LCD and glass digitizer panel fused together and the glass is also thinner than earlier iPad models. This all means that should the iPad take a tumble and crack there is a greater chance that the LCD will be damaged too.
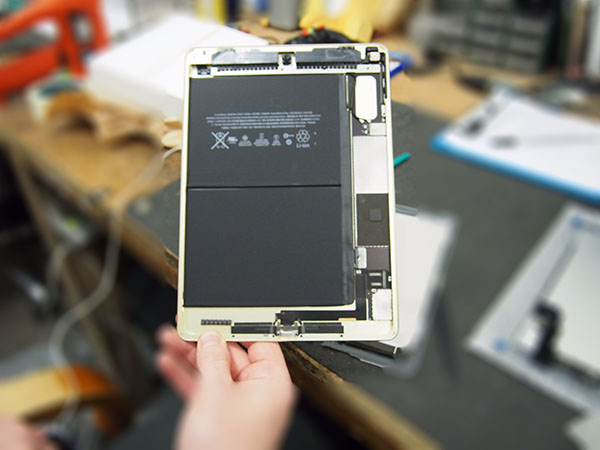
Internally the iPad is amazing to look at. It is so tidy and compact and most of the internal space is taken by the large battery which is needed to keep this technology running. All components are covered by shields which helps prevent damage to them even if the glass is damaged.
Of course like any other Apple (and now Samsung) product, these are sealed units - not intended to be opened and tampered with by the end user. Charging ports are soldered to the main board and most parts are glued inside with really strong adhesive. We would only advise attempting a repair if you have experience.
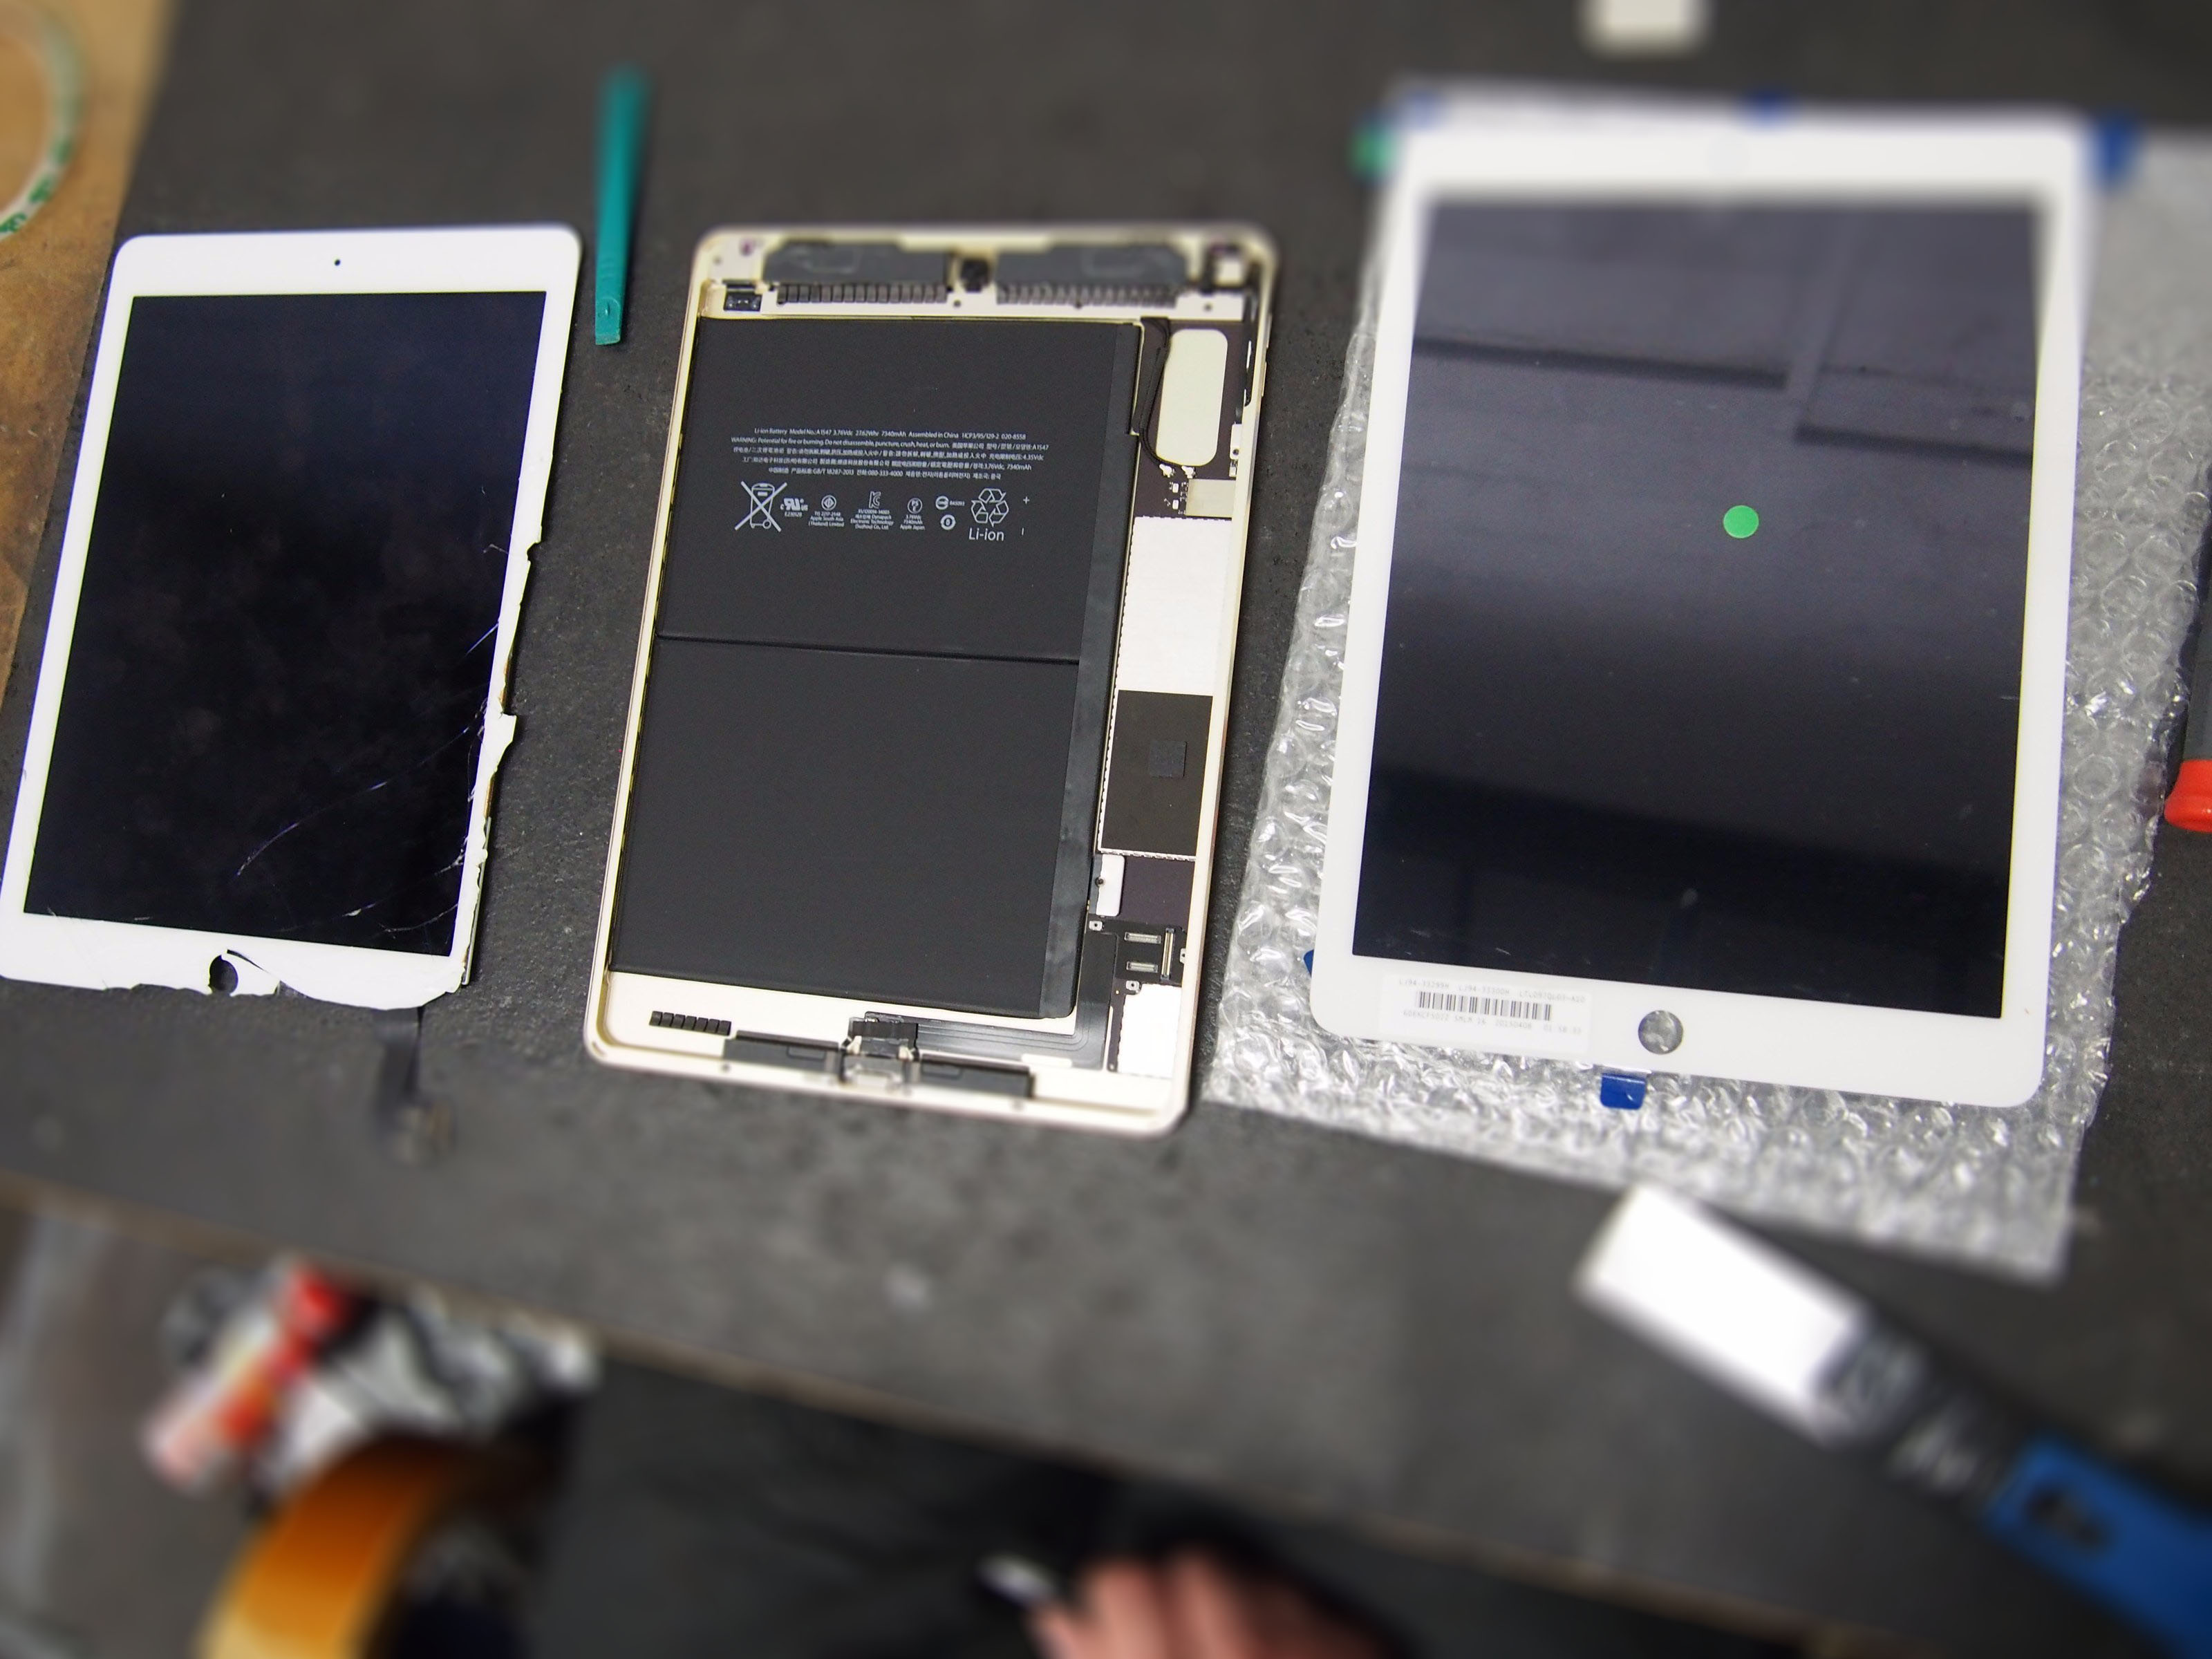
If the iPad is dropped on the corner and the metal housing is dented, this is sure to impact onto the glass. The iPad we are about to show you, however, had something dropped onto it so the casing is still perfect. The thin glass however cracked round the bottom edge and radiated across the bottom section.
Repairing The iPad Air 2
The outer glass is stuck to the frame by tough adhesive so heat is needed to make it more pliable. Safety specs are a must as the glass can crack more during removal and send glass missiles towards your eyes! The screen is attached by FPC connectors on the logic board which is covered by a shield. Once all the glass is removed from the frame the shield is unscrewed revealing the connections which we gently separate from the logic board.

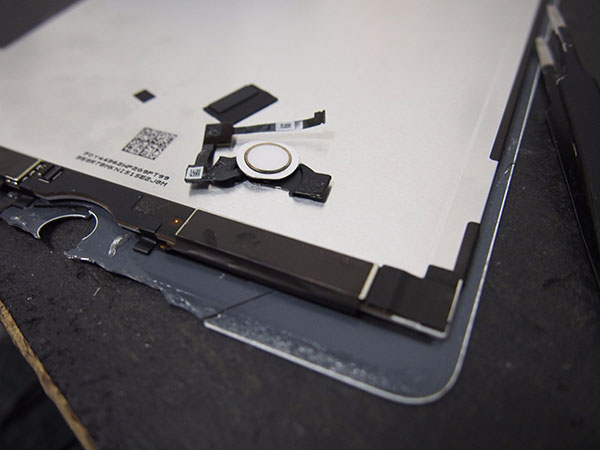
The Touch ID home button is glued to the screen too so this needs to be removed and transferred to the new screen or your fingerprint wouldn't work anymore. There is also a sensor for the cover lock option that needs to be transferred from the old screen to the new screen. This is a sensor that auto locks the screen when a case with a front cover is used. 
Once all the relevant components are transferred to the new screen we prepare it for its reassembly into the shell. We use a strong bonding tape and run it all the way round the frame. This means that once the new screen is sealed there it is a good fit without any gaps which should prevent dust from getting inside the iPad Air 2. Before sealing the new screen down we have to test all functions to make sure that everything works. 
Once the screen is sealed inside the shell we give everything another test to make sure all is well. It is visually inspected by the repair person to make sure they are happy with it. The iPad is then taken to the test bench where a second party tests all functions and visually inspects the unit. Once it passes both tests it is marked ready for dispatch.
The Final Result
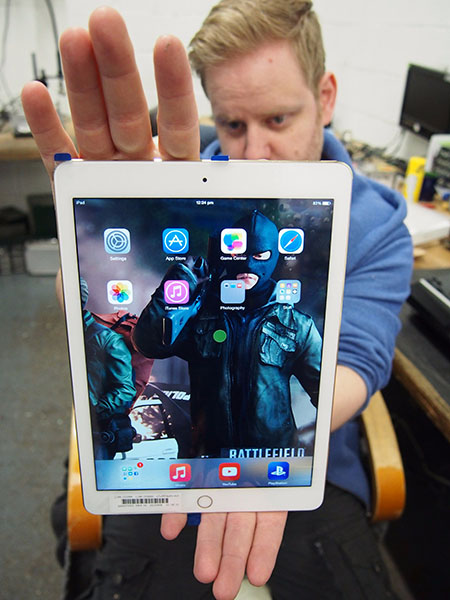
The above pictured iPad Air 2 was in pretty good shape apart from a broken screen, so the end result was a near perfect repair. You could not tell that it had ever been broken as the new screen fitted perfectly. As the screens have the LCD and touch screen digitizer sealed together there are no visible dust particles between the layers and the whole device works perfectly.
Gavin who repaired it was certainly happy with it.

Click the link below if you need your iPad Air 2 repaired and if you have any comments or suggestions for our blog please use our contact form or leave a comment below. We'd be happy to hear from you.
Thank you for reading.


